Overgrown nails force the paw into an unnatural position with every step, stressing joints over time.
Nail trimming sits near the top of the list of things dogs hate and owners dread. The combination of restraint, the unfamiliar sound, and one memorable quick-nick incident is enough to create a standoff that persists for years. Professional groomers know this. The best ones have developed methods that sidestep the confrontation entirely.
The scratch board is one of those methods. It's a board covered with coarse sandpaper that the dog paws at voluntarily, typically while reaching for a treat. The front nails file against the sandpaper with each stroke. No clippers, no restraint, no sounds the dog finds threatening. In a grooming context, it's used to maintain the front nails between appointments or when a dog won't tolerate conventional trimming. In a home context, it can replace conventional trimming entirely for front nails once the behavior is established.
Why Nail Length Actually Matters
Long nails aren't just a cosmetic problem. When nails grow past the point where they contact the floor with the paw held flat, they force the toes into a splayed, upward position with every step. The paw can no longer land in its natural configuration. Pressure transfers to the joints in ways they weren't designed to absorb.
Dr. Brittany Lancellotti, a veterinary dermatologist who has written about nail care for the Veterinary Information Network, has noted that chronic overgrown nails in older dogs can contribute to altered gait patterns that accelerate wear on carpals, hocks, and eventually hips. The dog adapts its stride to reduce discomfort, and the compensation creates new problems upstream in the musculoskeletal chain.
The practical rule: when the dog stands on a flat surface, no nail should touch the floor. The nails should clear the surface by a small margin. If you can hear clicking on hard floors with every step, the nails are too long.
The Scratch Board Method, Step by Step
The board itself is simple to build: a piece of plywood or thick cardboard, roughly 12 by 12 inches, with 80-grit sandpaper attached to the surface. The grit should be coarse enough to abrade the nail but not so aggressive it damages the pad if the dog misses. Some groomers use a folder approach, with the board angled at 45 degrees, which improves the filing angle for front nails.
Phase one is introducing the board as a neutral object. Place it on the floor and reward the dog for approaching it, sniffing it, or stepping on it. This takes a few sessions for cautious dogs. The goal is that the board becomes associated with food rather than anything threatening.
Phase two is shaping the scratch behavior. Hold a treat against the board surface at nose height. As the dog reaches for it, the front paws will often scratch at the board. Mark that moment with a click or a "yes" and deliver the treat. Once the dog is reliably pawing at the board to get the treat, you have the behavior. Repetition wearing down the nail becomes a byproduct of the treat game.
"The dog thinks it's playing a trick to get food. It has no idea it's getting a manicure. That's the whole point. The second it figures out nails are involved, you've lost the advantage."
Linda Michaels, certified professional dog trainerPhase three is consistent practice. Three to five scratch sessions per week, each lasting two to three minutes, maintains front nail length for most dogs. The frequency depends on how fast the individual dog's nails grow and how hard they scratch. Check nail length weekly. If length increases despite scratch sessions, add more sessions or increase the grit of the sandpaper.
The Rear Nails Problem
The scratch board only works for front nails. Rear nails require a different approach, usually conventional clipping or a rotary tool. This is where desensitization protocol matters most, since rear nails tend to grow more slowly but the dog has less awareness of what's happening back there, which can make restraint feel more threatening.
The standard desensitization protocol for rear nails starts with touching the paw without clippers, rewarding the dog heavily for tolerating contact. After several sessions, touching with the closed clipper. Then opening and closing the clipper near the foot without cutting. Then clipping one nail and stopping. The process takes weeks at the pace the dog sets. Rushing it at any stage resets the tolerance that has been built.
Clippers vs. Rotary Tools
Two types of clippers dominate home nail trimming: guillotine-style, which use a sliding blade to cut, and scissor-style, which work like pruning shears. Most professional groomers prefer scissor-style for larger dogs because they provide more control over cut angle and require less force to close. Guillotine-style clippers can crush the nail before cutting if the blade is dull, which causes a splitting sensation that dogs find particularly aversive.
Rotary tools, sold under the Dremel brand and several pet-specific brands, grind the nail gradually rather than cutting it. The process is slower but allows very precise control over how much nail is removed. Many dogs that violently resist clippers tolerate rotary tools, particularly if the desensitization included exposure to the vibration and sound before any contact with the nail. The heat generated by grinding can be uncomfortable if the session runs too long on a single nail, so professional groomers take short passes and switch nails frequently.
Nails are just one piece of the grooming health puzzle.
Our free assessment checks your dog's overall health profile, including dental risk, coat condition, and breed-specific concerns.
Take the Free Health AssessmentIdentifying the Quick on Dark Nails
On white or light-pigmented nails, the quick, the blood vessel that runs through the center of the nail, is visible as a pink column inside the lighter nail material. On black nails, it's invisible until you've cut too far.
The technique used by experienced groomers on dark nails: trim in thin slices from the end, looking at the cut surface after each slice. The nail material starts as white or chalky gray. As you approach the quick, a small dark dot appears in the center of the cut surface, surrounded by a lighter ring. That dot is the beginning of the quick. Stop there. One more slice past that point will draw blood.
Styptic powder stops nail bleeding quickly. A small container in the grooming kit is cheap insurance. Applying it with gentle pressure stops bleeding within 30 to 60 seconds. After a quick nick, give the dog time off and significant positive reinforcement before attempting nails again. The memory of pain drives nail trimming avoidance more than almost any other factor. The goal is never to let that memory form in the first place.
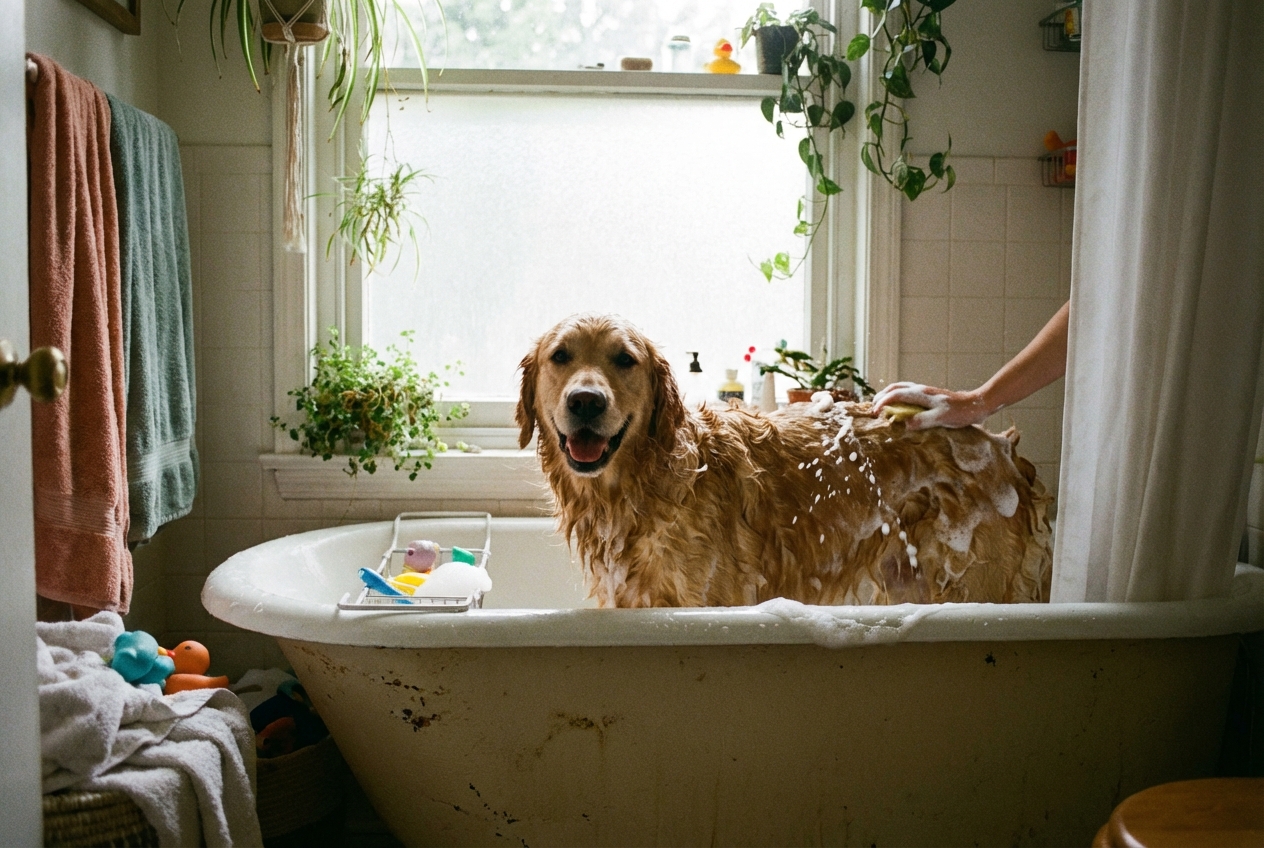
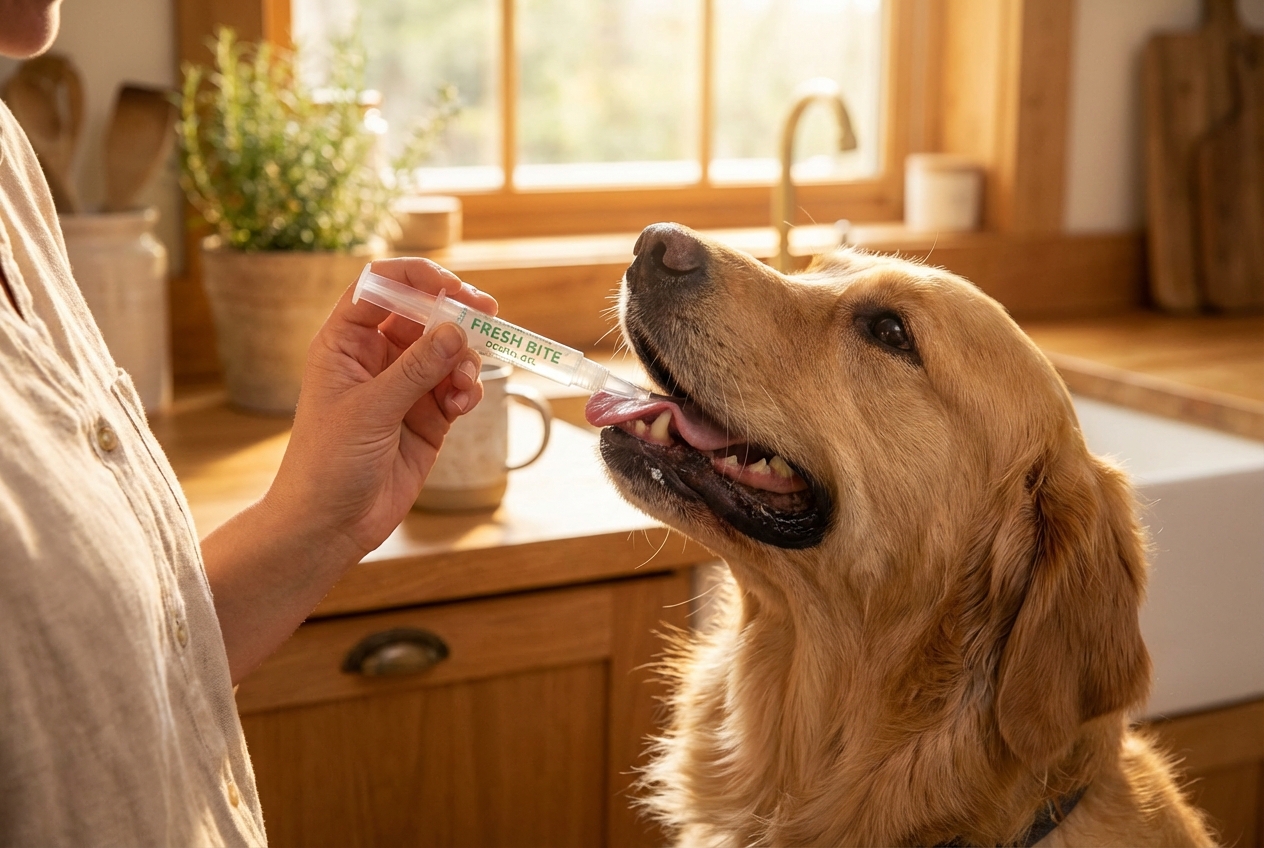
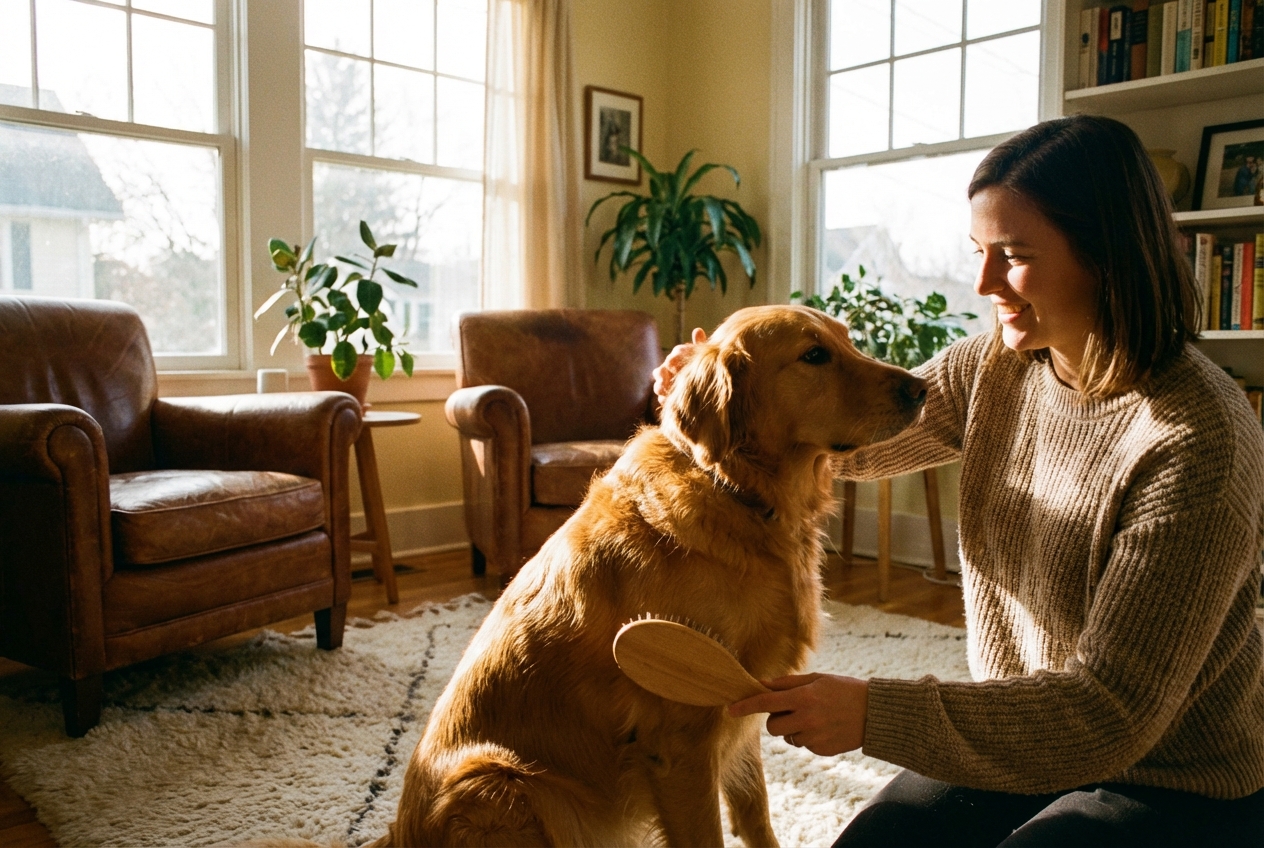
Between nail sessions, keep the full grooming routine going. Regular bathing, coat brushing, and dental care all fit into the same framework: daily habits that prevent the need for expensive, stressful interventions later.